> ## Documentation Index
> Fetch the complete documentation index at: https://docs.fintoc.com/llms.txt
> Use this file to discover all available pages before exploring further.
# Go-Live Checklist
> Use this checklist to ensure a smooth transition to Live Mode
After testing your integration in test mode, there are a few tasks you need to complete before going live with the Payment Initiation product. Fintoc's test environment is funtionally very similar to live mode, but it is important to perform tests in order to correctly set up your live environment
***
**Make sure your integration supports backwards-compatible changes**
We constantly make backwards-compatible changes to our API to add new features. Make sure your integration can support such changes once you go live. For more information, read our guide on [Changes to the API](/docs/home/changes).
* [ ] **Setup the Live API Keys in your backend**
In your dashboard, navigate to the API Keys tab. Make sure you are in Live mode by checking the toggle indicator in the bottom-left corner.
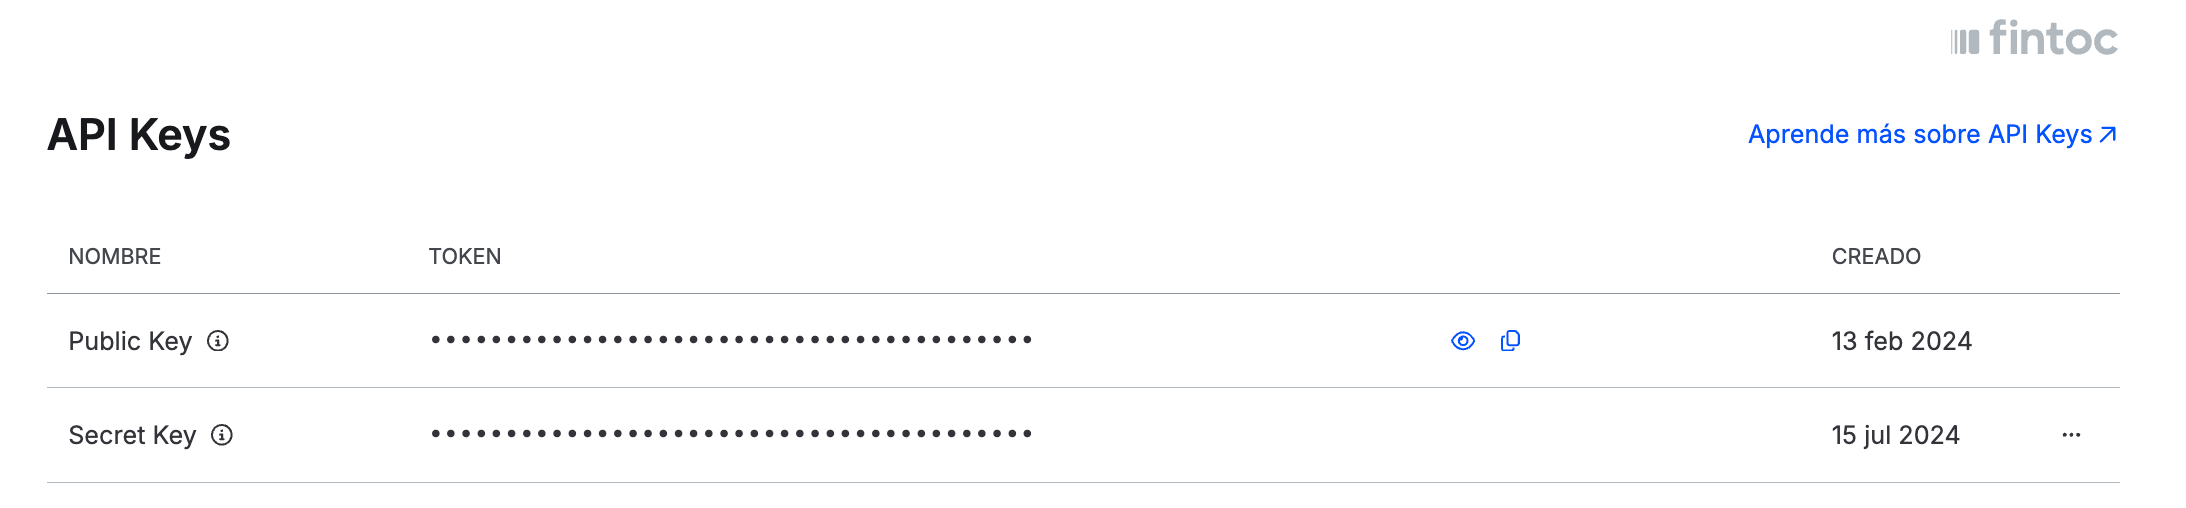 Generate your Live Secret Key and set it up in your back end to make requests to the API in Live Mode
**You can only access your Secret API Key once**
You will only be able to copy and see your API Key when you activate or rotate it. Make sure to store them securely in your backend.
Generate your Live Secret Key and set it up in your back end to make requests to the API in Live Mode
**You can only access your Secret API Key once**
You will only be able to copy and see your API Key when you activate or rotate it. Make sure to store them securely in your backend.
* [ ] **Set up new webhooks to keep your application in sync with Fintoc**
Webhooks created in test mode will not notify your application about events that occur in Live mode. You will need to set up new webhooks in your production environment to handle any events related to a Checkout Session.
If you need help setting up new webhooks, check our [Webhooks Guide](/docs/resources/webhooks-walkthrough).
There are several events that you can configure from the dashboard or the API to receive notifications about the payment process, but there are four events associated with the processing of a Checkout Session that are critical to the operation and are sent via webhook: `checkout_session.finished`, `checkout_session.expired`, `payment_intent.succeeded` and `payment_intent.failed`. Check out our [Webhooks Guide](/docs/resources/webhooks-walkthrough) to understand how Fintoc's webhooks work and how you can configure your Webhook endpoints.
* [ ] Make sure to follow our [UX Guidelines](/docs/payments/checkout-ux-guidelines)
**Choose the correct payment button for your checkout**: Our research has shown that the payment button has important effects on conversion
**Launch the widget without redirecting the customer**: Integrating the payment widget this way promotes trust, making the user more likely to enter their banking credentials and finish the payment.
**Ensure that there are no additional visual elements during the payment flow**: Keeping the payment flow clean and simple improves the overall payment experience.
**Properly redirect the end user after making a payment**: Whether the payment is successful or not, it is important to reduce uncertainty and confirm the final status of the customer's payment.
* [ ] **Correctly handle webhook-related edge cases**
Some payments may have null fields if the user exits mid-process. Be sure to handle these cases as shown in our [payments guide](/docs/payments/copy-of-accept-a-payment).
* [ ] **Specify the account where you want to receive payouts**
If you are using [Fintoc Collects](/docs/payments/fintoc-collect-payments), you will need to specify the bank account in which you want to receive payouts. To do this, send an email to your Account Executive specifying:
🇨🇱
* Bank Name
* Account Type
* Account Number
* RUT
* Notifications Email
🇲🇽
* Company Name
* Bank Name
* CLABE
* RFC
* Notifications Email
* Company Adress
* [ ] **Perform Certification Tests**
Before moving to production, you must be sure that your integration was carried out correctly. **The tests we will perform involve real payments**, therefore you must:
* Ask your Sales Executive to activate Live mode on your account. **You must be able to launch the widget in this mode**. If you wish, you can conduct the tests on a development site, but always using the Live mode credentials and making real payments.
* Have your webhook endpoints [configured in Live mode](/docs/resources/webhooks-walkthrough/webhooks-activating#add-an-endpoint-through-the-dashboard).
**Payment Initiation Tests**
1. Complete a successful payment using Fintoc.\
**Expected results:**
1. You can correctly [initiate a Checkout Session](/reference/payments-api/checkout-sessions/checkout-sessions-create) and [display the widget](/docs/resources/widget/web-integration). If your payment flow requires the user to input their RUT (in CL) or phone number (in MX) before the payment, the widget is deployed with the [username field pre-filled](/docs/resources/widget/web-integration#username-and-holderid-objects)
2. After finishing the payment flow, you correctly redirect the end user to a confirmation page on your site
3. Your system registers the payment as successful and the rest of your processes are triggered (for example, sending a confirmation email)
2. Create a new Checkout Session and close the widget before authorizing the payment.\
**Expected results:**
1. Your front end redirects the end user to a page where they can retry the payment or choose another payment method.
2. Your system registers the payment as failed using [webhooks](/docs/resources/webhooks-walkthrough)
3. Simulate a Checkout Session where the end user authorizes the transaction in their banking app and closes the tab immediately after.\
**Expected results:**
1. Your system registers the payment as successful after receiving the confirmation webhook.
2. The rest of your processes are triggered (for example, sending a confirmation email)
4. Simulate a payment that results in a pending status\
**Expected Results:**
1. Your system registers the payment as pending after recieving the `checkout_session.finished` webhook with a pending final status
2. A message is shown to the end user indicating the payment has not been confirmed yet
3. You can decide how to handle the rest of the payment flow according to your business requirements and our [pending payments guide](/docs/payments/fintoc-collect-payments/dealing-with-payment-exceptions#how-to-deal-with-pending-payments)
* [ ] **Go Live**
After completing the certification tests, you are ready to set your integration Live.