Create a fiscal Link using the widget
If you need to create a new fiscal Link to use within your application, you will need to use the widget, as the dashboard doesn't yet support creating fiscal Links.
Before we can start creating a fiscal Link, you need to get your Fintoc account's Public Key. It will be used throughout this guide, so make sure to follow the guide on how to get your API keys to get your live Public Key.
You will also need a URL to send webhooks to (you can read more about our webhooks system here). To create a webhook URL, use Webhook.site. After entering to the site, you will be able to copy the webhook URL using a button:
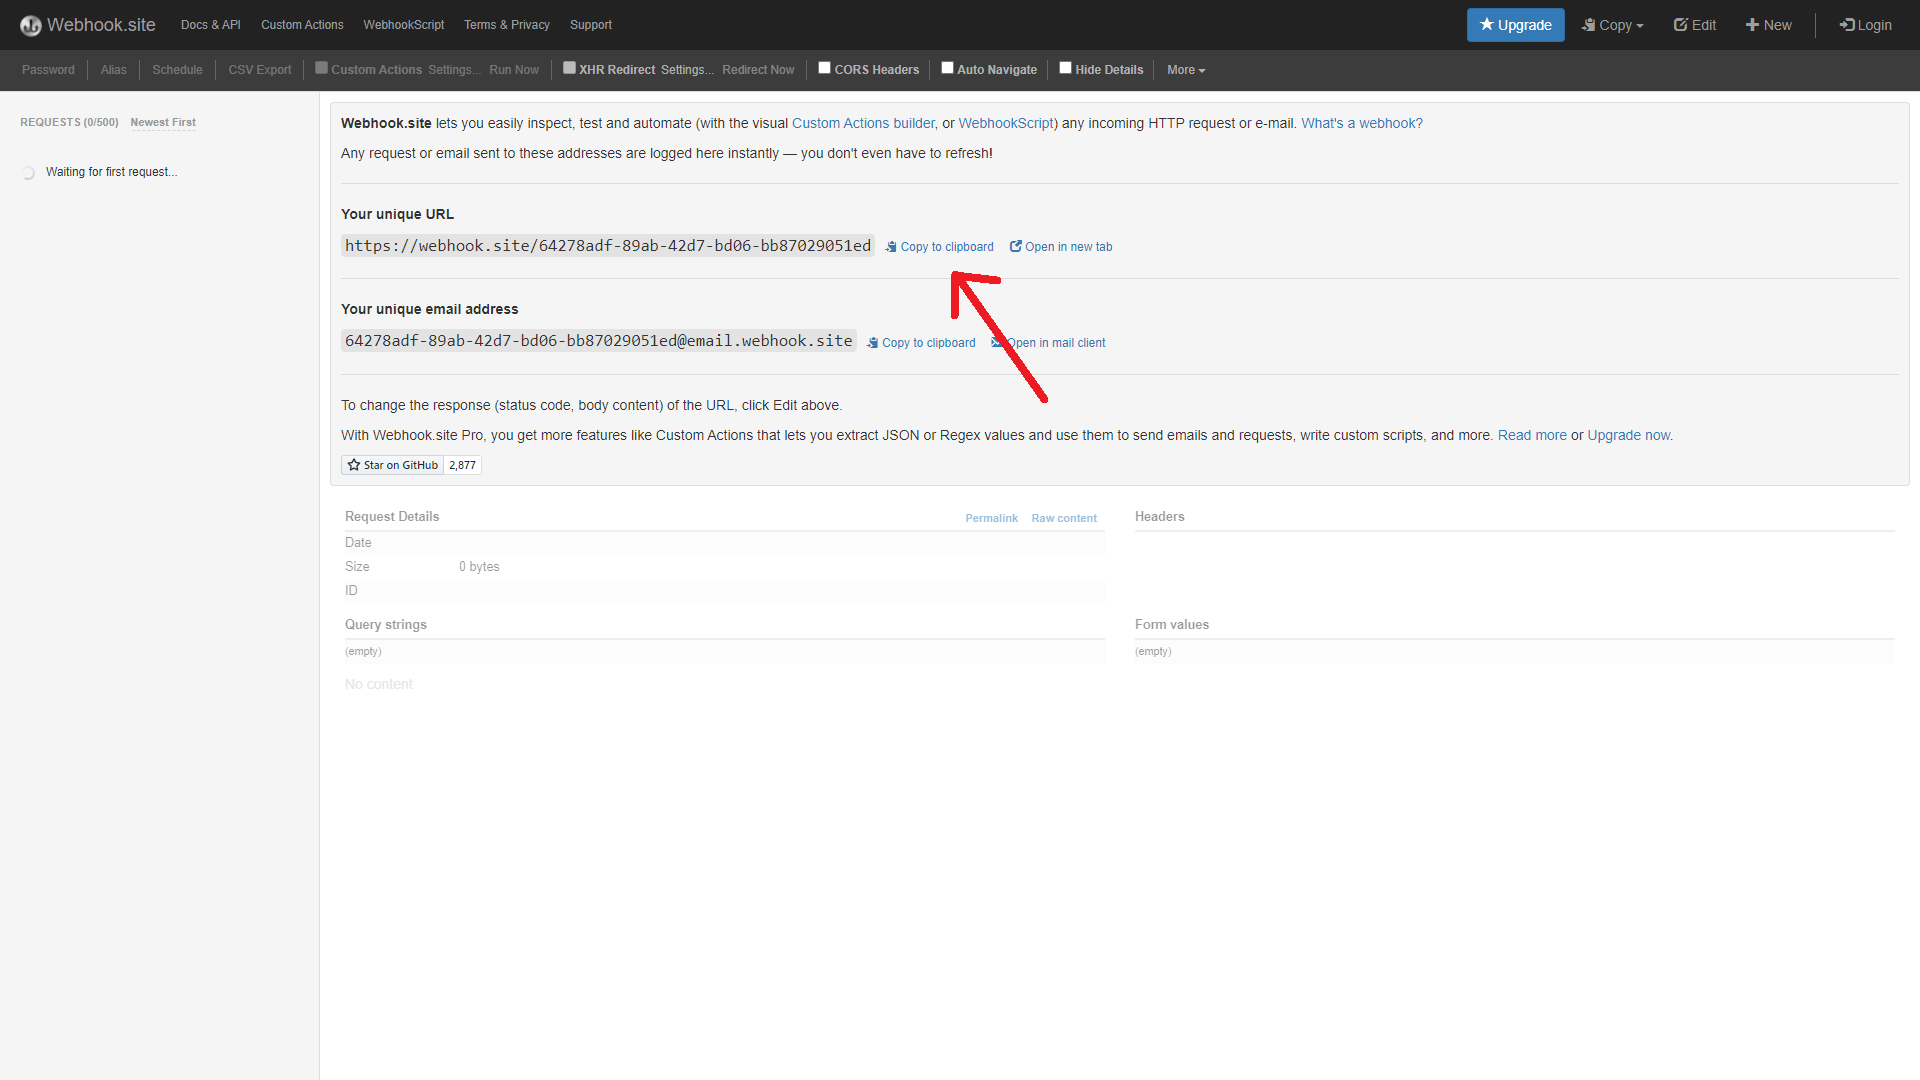
Save the webhook URL for the next step and don't close the Webhook.site window. Keep it open, as we will use it later.
The first thing you must do is to after getting your Fintoc Public Key and a webhook URL is to instantiate the widget using an empty HTML file. You can read more about integrating the widget here. In short, you will need to have a file named index.html with the following content:
<!DOCTYPE html>
<html>
  <head>
    <title>Fiscal Link</title>
    <script src="https://js.fintoc.com/v1/"></script>
  </head>
  <body>
    <script>
      const publicKey = 'YOUR_PUBLIC_KEY';
      const product = 'YOUR_PRODUCT';
      const holderType = 'YOUR_HOLDER_TYPE';
      const webhookUrl = 'YOUR_WEBHOOK_URL';

      window.onload = () => {
        const widget = window.Fintoc.create({
          publicKey,
          product,
          holderType,
          webhookUrl,
          onSuccess: (link) => {
            console.log(link);
          },
        });
        widget.open();
      }
    </script>
  </body>
</html>
Notice that there are 4 different variables defined from line 9 to line 12 that you should replace with your own:
publicKey: This corresponds to the Public Key you retrieved at the start of this guide (read more on how to retrieve API Keys here)product: This corresponds to the product that the Link will have access to. It can beinvoices.holderType: This corresponds to the type of entity that holds the account. It can beindividualorbusiness, depending on your accountwebhookUrl: This corresponds to the URL that Fintoc will use to send the created Link with the Link Token. You will need the Link Token to use the API. Use the webhook URL that you generated at the start of this guide. The URL should look something like this:https://webhook.site/64278adf-89ab-42d7-bd06-bb87029051ed
Now, open the index.html file using your favorite browser. You should see something like this:
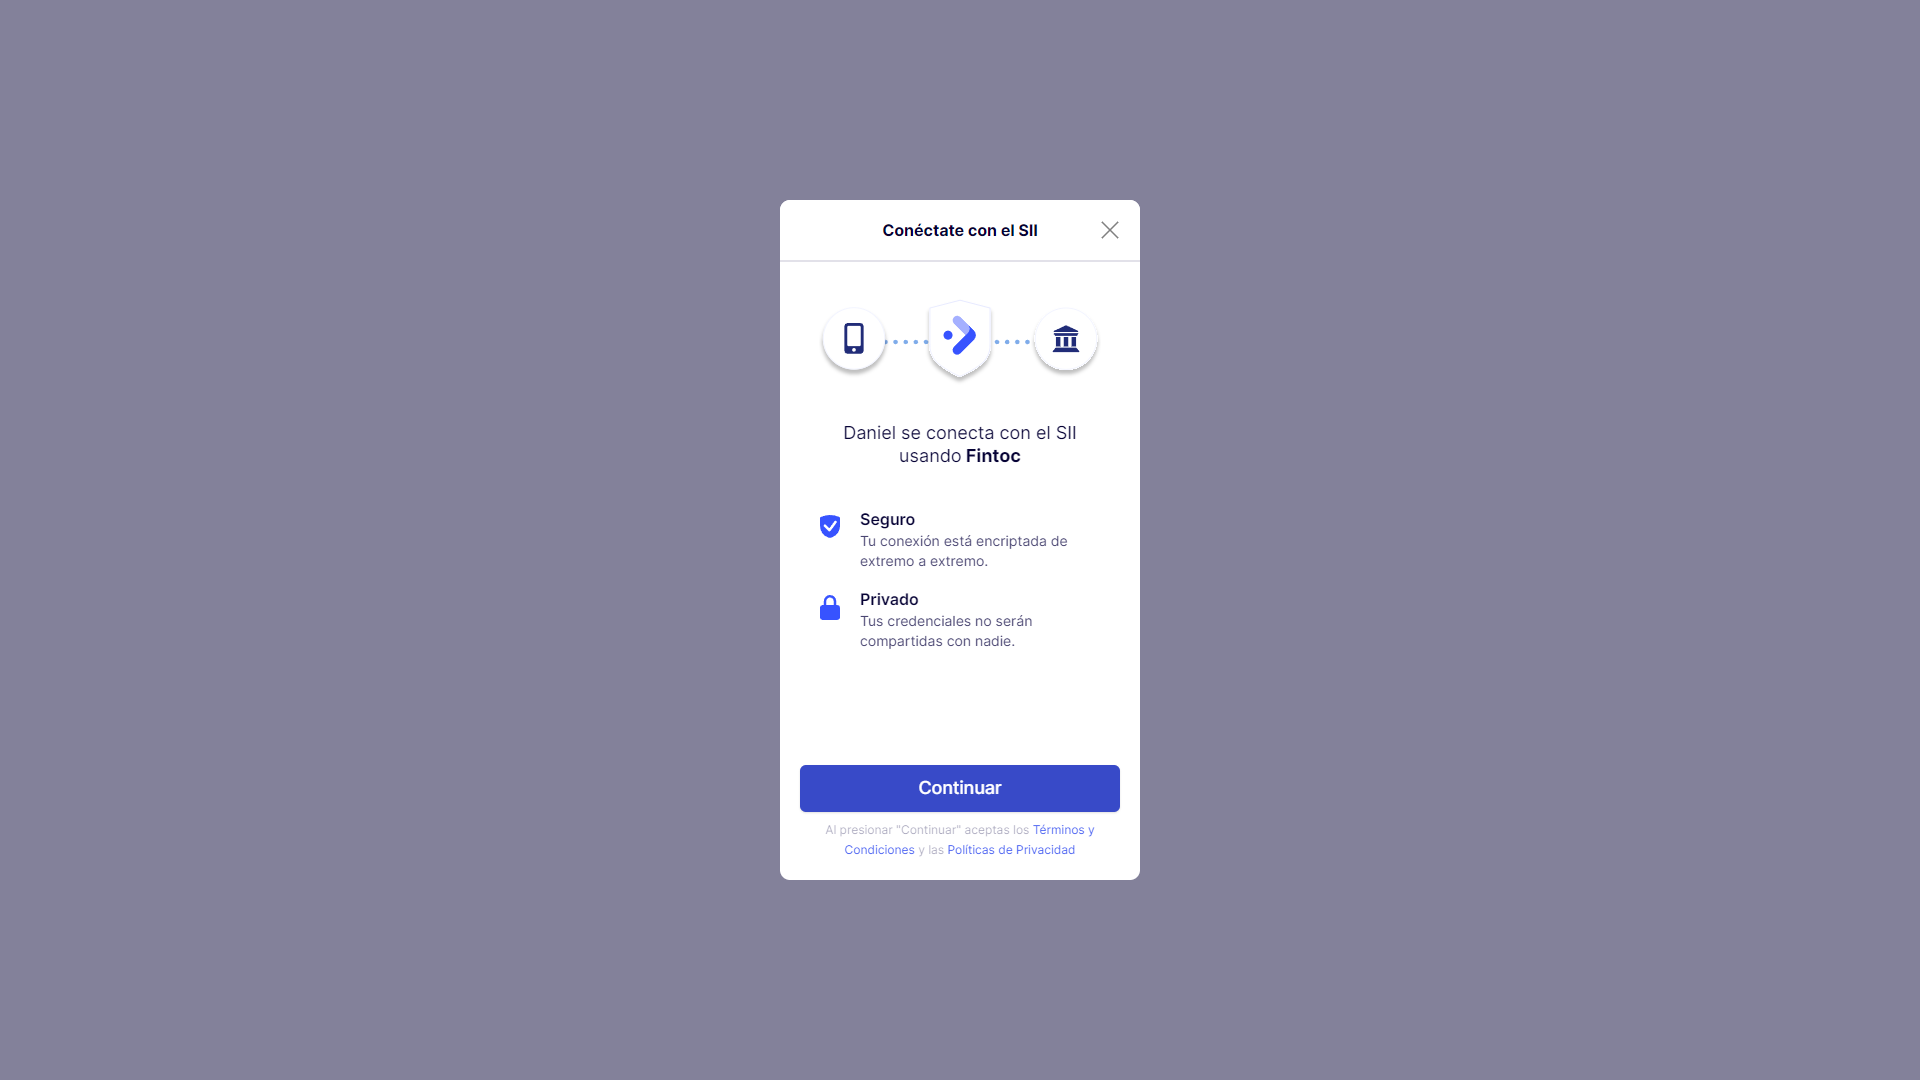
After clicking continue, you will be prompted to introduce your fiscal credentials:
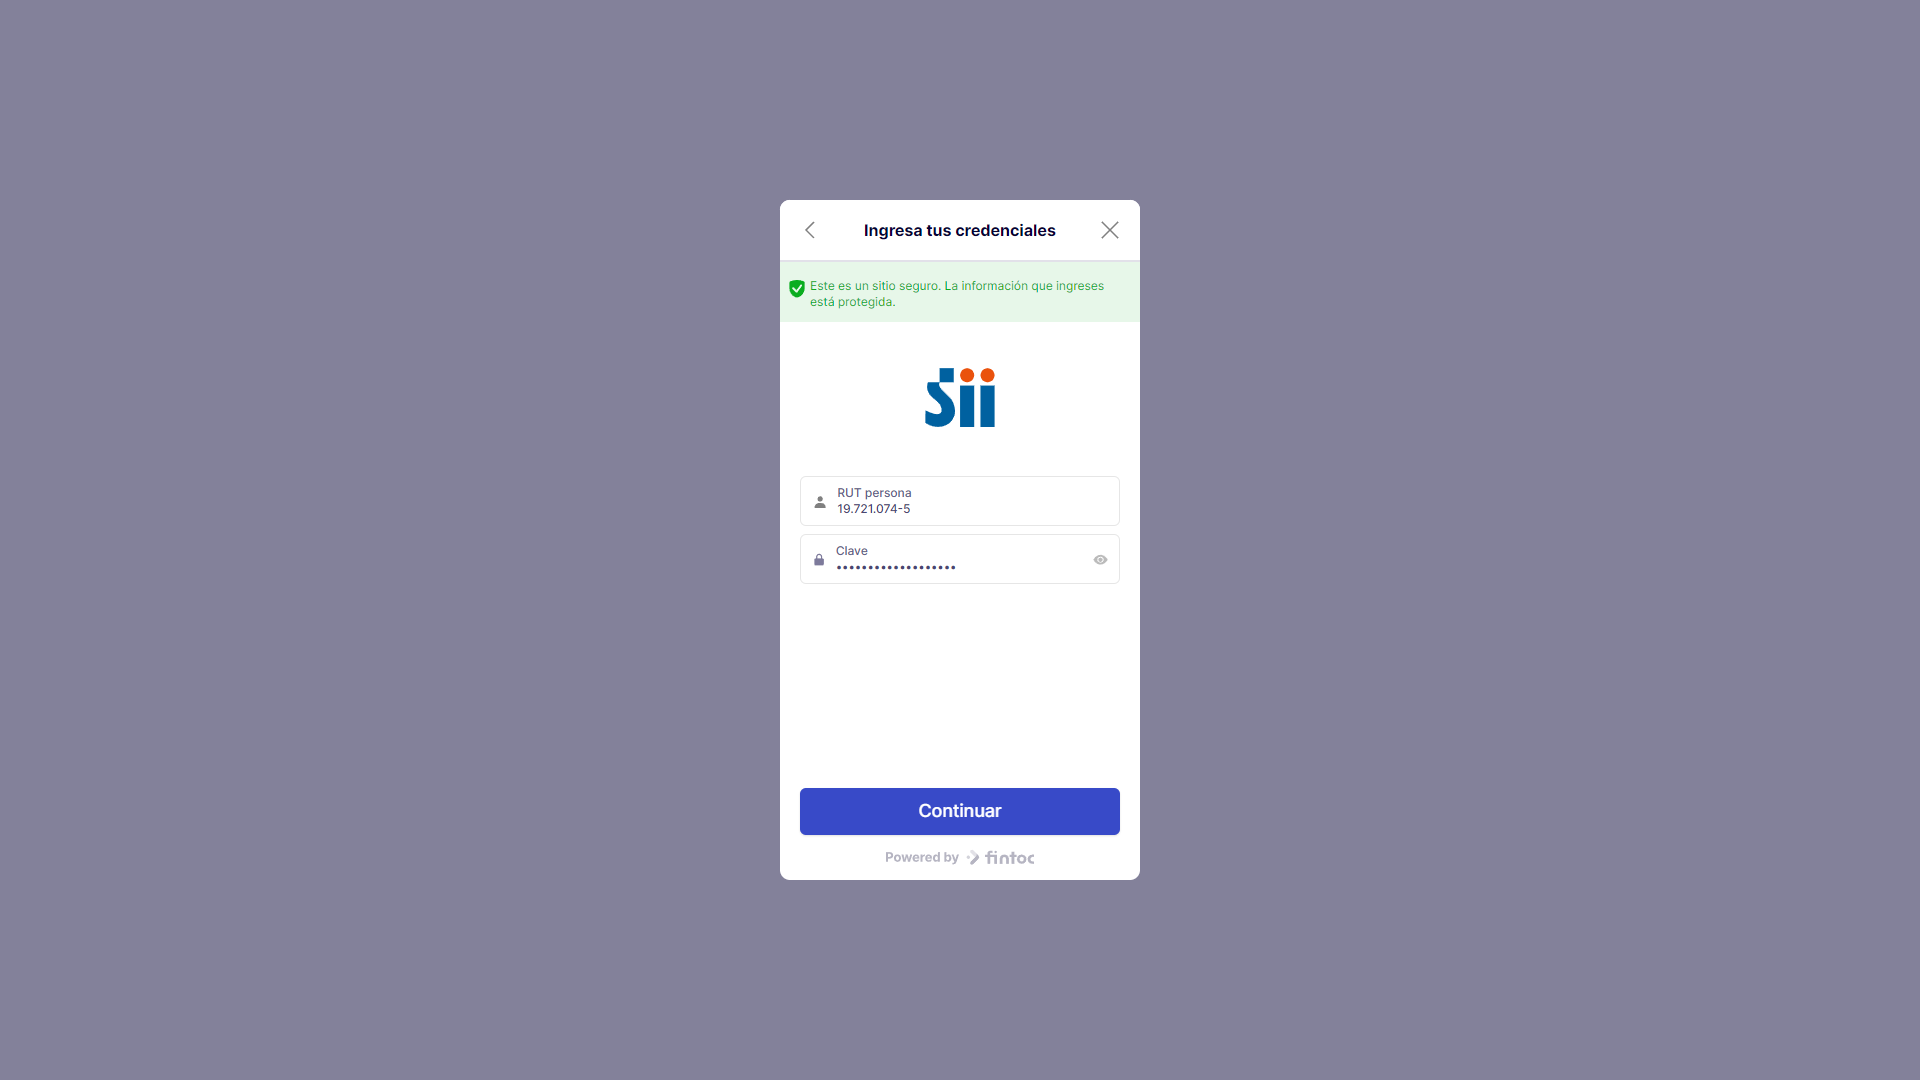
After clicking continue once again, if everything goes OK, you should see a screen like this:
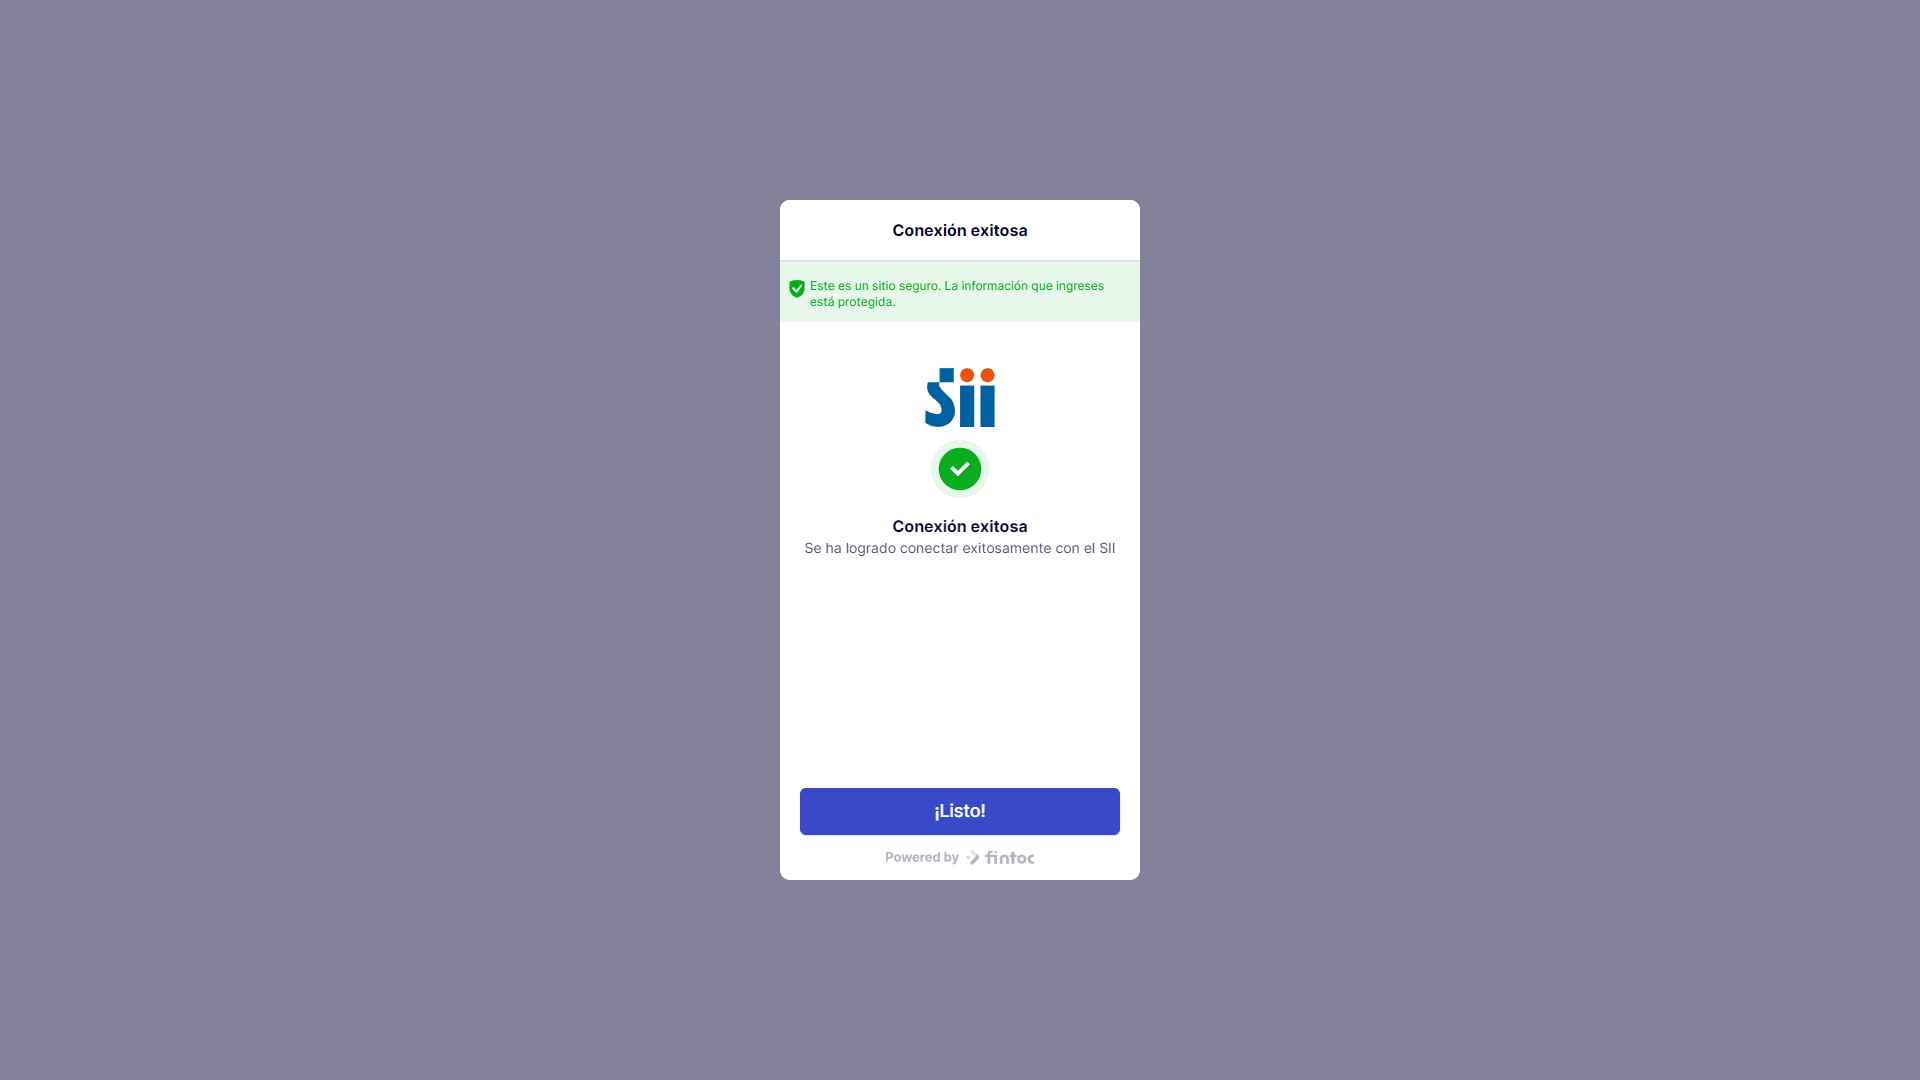
Click the button. Now, head over to the Webhook.site window. At the left, you can see every webhook you have received. Click on the one you want to see the detail of (if you are following this guide, you should only have one webhook):
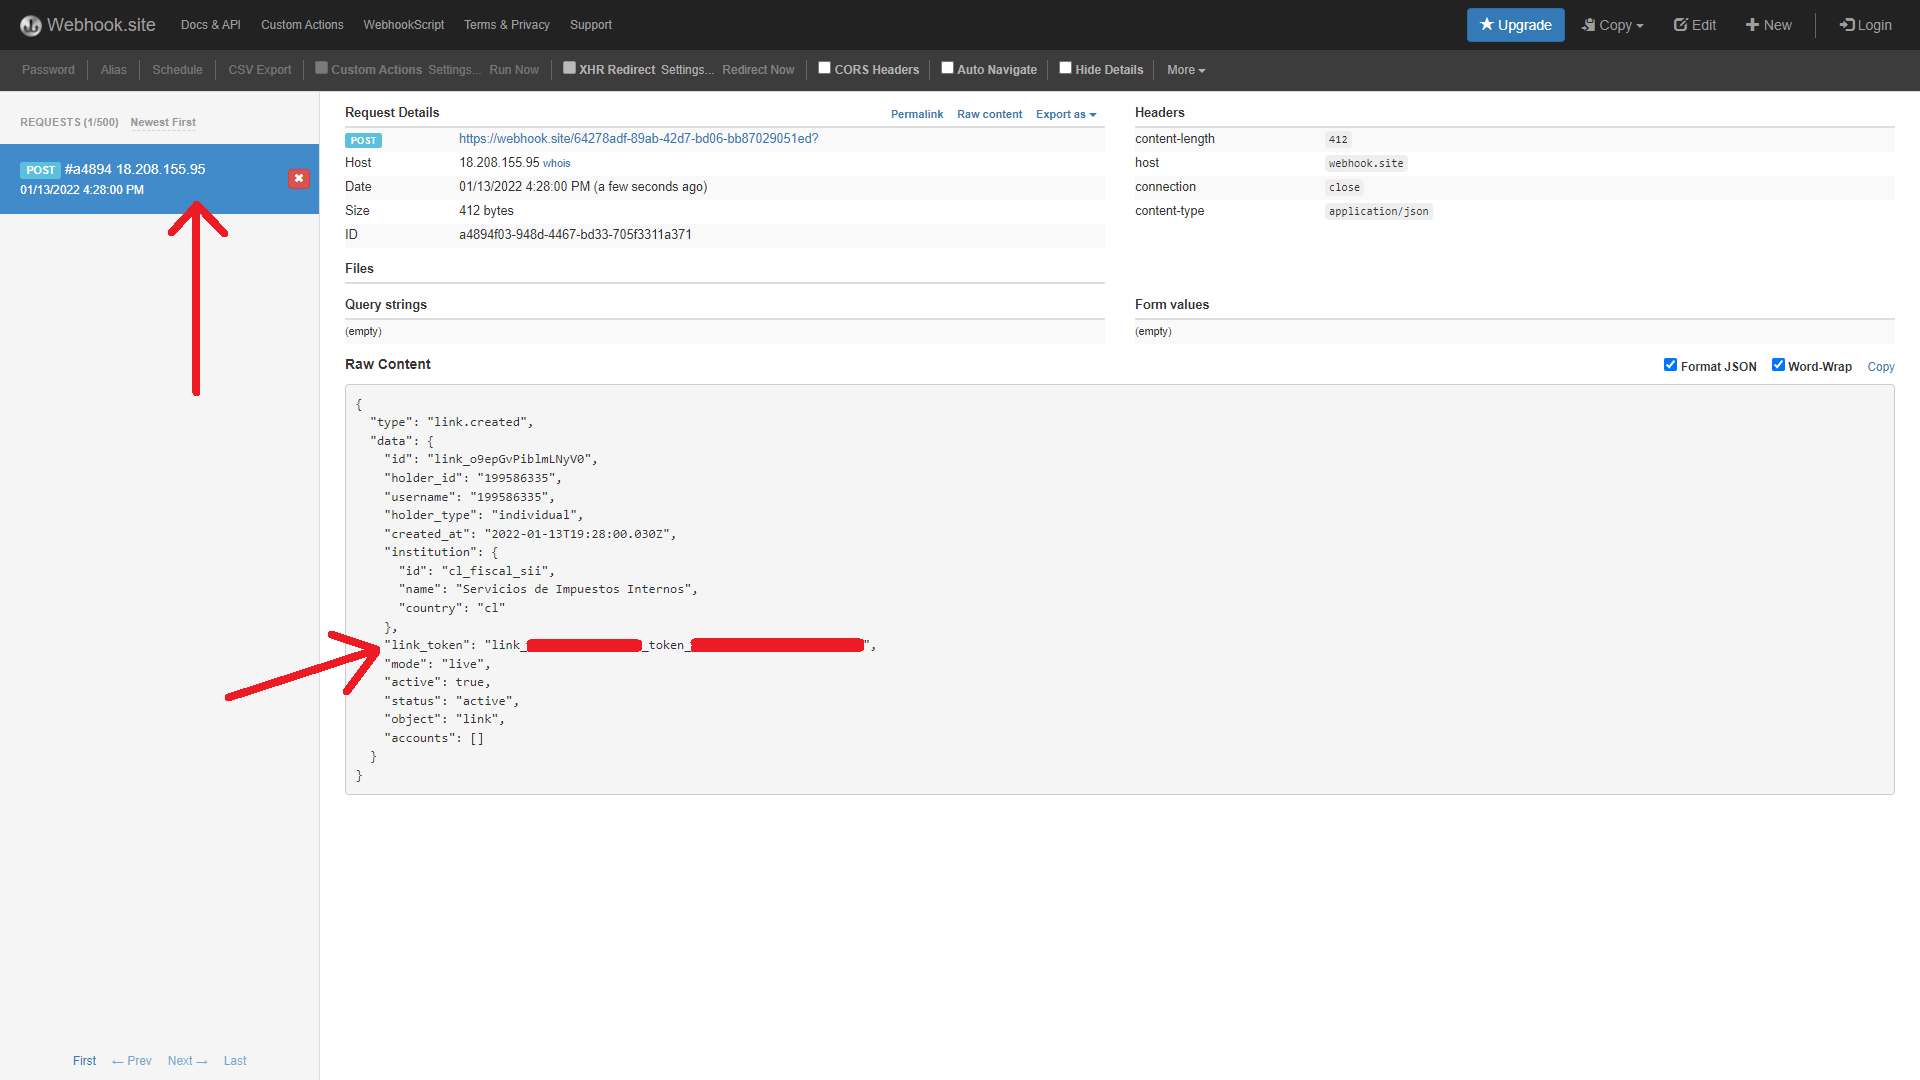
Notice the Link Token in the "Raw Content" section. Save that token securely. The Link Token represents the username/password combination of the fiscal entity, and is used to ask Fintoc for the fiscal data. The Link Token is not saved by Fintoc, and can never be retrieved again, so don't lose it.
Updated 5 months ago